
A tip button is a payment widget that lets blog readers send small, voluntary payments directly to a creator with one click. Adding a tip button to your blog gives readers a frictionless way to say “thank you” without a subscription or commitment. The industry term for this is a “tip jar,” and it functions as a low-pressure monetization layer on top of your existing content. Preset amounts like $3, $5, and $10 have become the standard for creator support, and payment processors like PayPal and Stripe are the most trusted rails for handling those transactions.
How to add a tip button to your blog: tools and plugins
The right tool depends on your blogging platform. WordPress bloggers have the widest selection, including dedicated donation and tip plugins that embed directly into posts or pages. Squarespace and Wix support tip buttons through third-party embed codes or native payment blocks. Any platform that accepts custom HTML can host a tip button from an external service like Tipper.
Most tools fall into three categories by feature depth:
- Basic embed tools: Generate a button with a single fixed amount and a PayPal or Stripe link. Setup takes under ten minutes. Best for bloggers who want a fast, no-code solution.
- Preset amount platforms: Let you configure multiple tip tiers, typically $3, $5, and $10, so readers can choose. These preset tip amounts mirror casual everyday expenses and maximize the chance a reader follows through.
- Advanced tip jar platforms: Include custom branding, thank-you messages, analytics, and multiple payment methods. Tipper falls into this category, offering Apple Pay and Google Pay support alongside traditional card payments.
For tech-savvy audiences, crypto tip jars built as products on WooCommerce or Shopify send tips directly to a wallet with minimal fees and no middleman. That approach suits niche audiences but adds setup complexity most bloggers do not need.
| Feature category | What to look for |
|---|---|
| Preset tip amounts | Whole-number options: $3, $5, $10 |
| Payment options | PayPal, Stripe, Apple Pay, Google Pay |
| Ease of integration | HTML embed or native plugin |
| Thank-you messaging | Automated confirmation or personal note |
| Account requirement for supporters | No signup preferred for higher conversion |

PayPal remains the most trusted processor for independent creator sites. Reader familiarity with PayPal reduces hesitation when entering payment details on a blog they have never purchased from before.
Step-by-step setup for a blog tip button
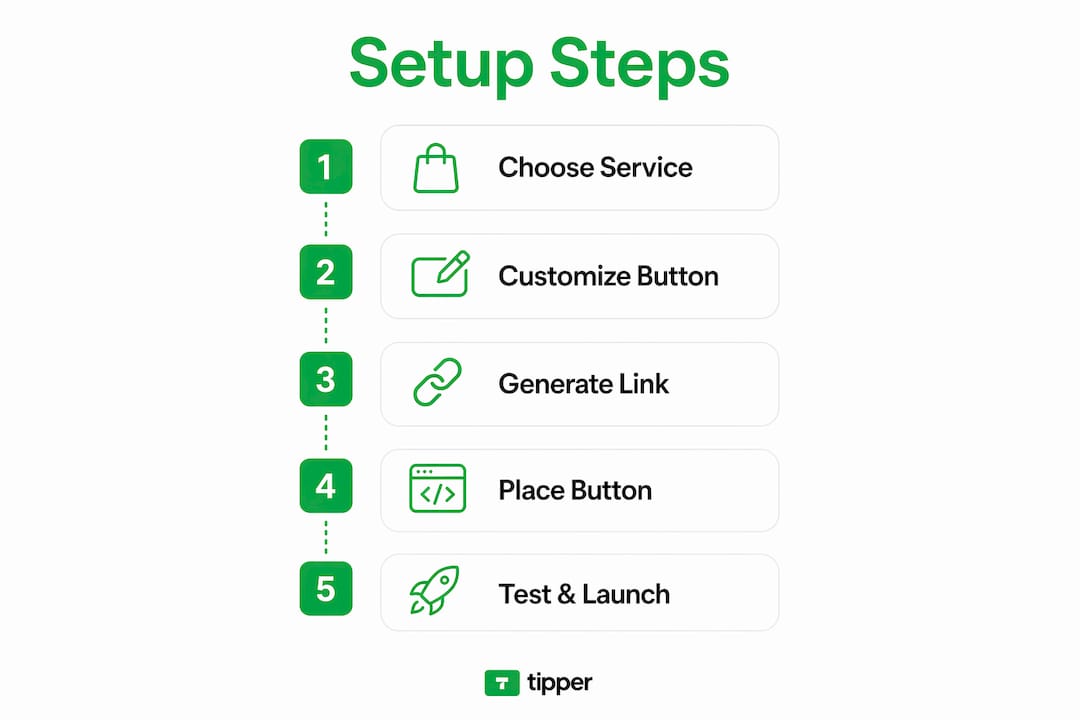
Getting a tip button live on your blog takes less than an hour when you follow a clear sequence. The steps below apply to any platform, whether you use a plugin or an external service like Tipper.
-
Create your payment account. Sign up for a PayPal Business account or a Stripe account if you do not already have one. Connect it to your bank account and verify your identity. This step is non-negotiable. Without a verified processor account, tips cannot reach you.
-
Choose your tip platform or plugin. Select a tool that matches your platform. WordPress bloggers can install a dedicated tip plugin directly from the plugin directory. Bloggers on other platforms should choose a service that provides an HTML embed code or a shareable tip link.
-
Configure your preset tip amounts. Set three whole-number amounts: $3, $5, and $10. Whole number presets reduce cognitive load and make tipping feel like a quick, casual gesture rather than a financial decision. Avoid amounts like $2.50 or $7.99.
-
Write your call-to-action title. Choose a phrase that fits your voice. “Buy me a coffee” works for casual, personal blogs. “Support my work” fits more earnest or professional creators. Emotionally framed CTAs aligned with your brand voice drive more consistent tip flow than generic prompts like “Donate here.”
-
Embed the button on your blog. Paste the embed code or plugin shortcode at the end of your blog post, just below your closing paragraph. Do not place it in the header or sidebar on the first attempt. End-of-post placement is where readers are most engaged.
-
Run a live payment test. Send yourself a $3 tip using a real card on your live site. Live payment tests catch broken redirects, missing confirmation emails, and failed thank-you messages that sandbox tests miss entirely.
Pro Tip: Place your tip button at the bottom of your three most-read posts first. Those pages already have proven reader engagement, so they give you the fastest real-world feedback on what is working.
Where to place your tip button for maximum impact
Placement is the single biggest variable in tip button performance. End-of-post placement consistently outperforms sidebars and headers because readers who finish a long article are already invested in your content. A reader who scrolls to the bottom has self-selected as someone who found value. That is the exact moment to ask for support.
The most effective placement strategy combines multiple touchpoints without feeling aggressive:
- End of post: Primary placement. Position the button directly after your final paragraph, before comments.
- Sticky footer bar: A subtle, persistent bar at the bottom of the screen keeps the option visible without interrupting reading.
- About page: Readers who visit your About page are actively curious about you. A tip option there converts well.
- Email signature: Add your Tipper link to every email you send. Readers who reply to your newsletter are already engaged.
- Social media bio: A tip link in your Instagram or LinkedIn bio captures support from followers who never visit your blog directly.
Your CTA language matters as much as placement. Keep it friendly and low-barrier. Avoid language that sounds like a fundraiser or a charity appeal. Phrases like “If this helped you, buy me a coffee” feel personal. Phrases like “Please donate to support ongoing content creation” feel formal and create friction.
Pro Tip: Test two different CTA phrases over 30 days by alternating them on your most-visited post. Track which version generates more clicks using your platform’s analytics or a URL shortener with click tracking.
Common mistakes that kill tip button conversions
Most tip buttons underperform not because readers are unwilling to tip, but because the setup creates unnecessary friction or confusion.
- Setting a fundraising goal. A tip jar without a target encourages smaller, more frequent tips. A visible goal adds pressure and makes readers feel like they are contributing to a campaign rather than thanking a person.
- Using fractional preset amounts. Amounts like $2.50 or $4.99 slow readers down. Fractional amounts increase cognitive load and make the decision feel more like a purchase than a casual gesture.
- Burying the button. A tip button in a sidebar widget or buried in a footer menu gets ignored. Readers do not go looking for ways to pay you.
- Skipping the live payment test. Sandbox environments do not replicate real transaction flows. A broken redirect or missing confirmation email means you lose the tip and the reader’s goodwill.
- Ignoring thank-you messages. A confirmation message or personal note after a tip builds the relationship. Readers who feel acknowledged are more likely to tip again.
- Mismatched CTA language. A casual food blog using corporate language like “financial contributions are appreciated” creates a tone mismatch that makes readers hesitate.
A tip button is an invitation, not a demand. The moment it feels like an obligation or a campaign, readers disengage. Keep the ask light, the amounts simple, and the thank-you genuine.
Key Takeaways
A tip button converts best when you combine whole-number preset amounts, end-of-post placement, and emotionally resonant CTA language that matches your blog’s voice.
| Point | Details |
|---|---|
| Use whole-number presets | Set $3, $5, and $10 to reduce friction and match casual spending habits. |
| Place at end of post | End-of-post placement outperforms sidebars because readers are most engaged after finishing content. |
| Frame the CTA emotionally | Phrases like “Buy me a coffee” outperform generic prompts by aligning with your personal brand voice. |
| Test with a real payment | Always run a live transaction to catch broken redirects and missing confirmation messages. |
| Skip the fundraising goal | No target amount keeps the environment casual and encourages frequent small tips. |
What I have learned from running tip buttons on real blogs
The biggest surprise when I first started experimenting with tip buttons was how much CTA wording mattered. I ran the same button with two different phrases on identical posts. “Support my work” generated a handful of tips. “Buy me a coffee” generated three times as many over the same period. The content was identical. The only variable was the six words above the button.
Whole-number preset amounts made a noticeable difference too. When I tested a $4.99 option against a clean $5, the $5 option won without question. Readers do not want to think. They want to feel good about a quick, generous gesture. Fractional amounts interrupt that feeling.
The live payment test saved me real money. I skipped it once on a new setup and spent two weeks wondering why my tip button had zero conversions. The redirect was broken. Every reader who clicked got an error page. I had no idea until a reader emailed me. Test with a real card, every single time.
Placement experiments taught me that the About page is underrated. Readers who visit that page are already curious about the person behind the content. A tip option there converts at a rate that surprises most bloggers I have talked to. If you have not tried it, add your tip link there this week.
The digital tipping landscape is still maturing, and the bloggers who build the habit of testing and iterating now will have a real advantage as reader expectations around creator support continue to shift.
— Tipper
Tipper makes adding a tip button to your blog simple
Tipper gives bloggers a personalized tip link that works on any platform, with no account required from the reader. Supporters pay instantly using Apple Pay, Google Pay, or a card, and you keep 100% of every tip.
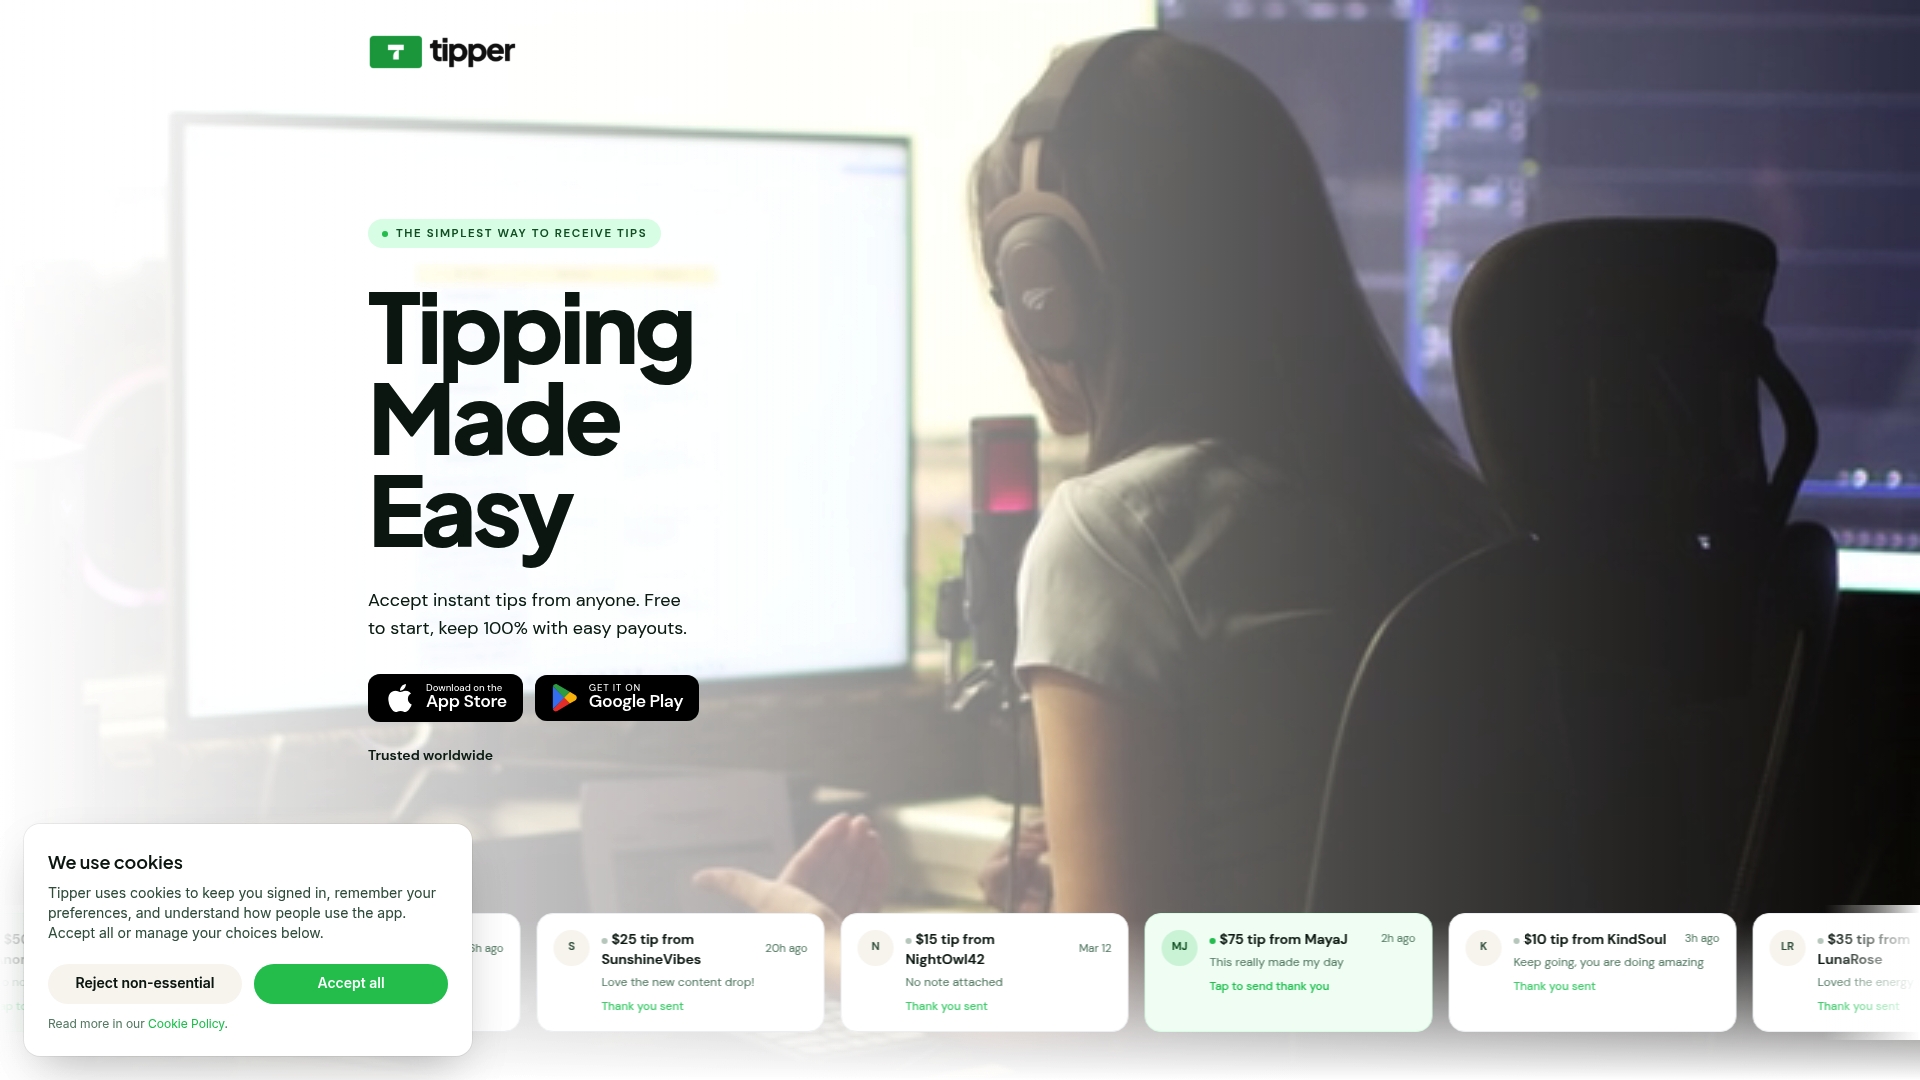
Setting up takes minutes. You configure your preset amounts, write your CTA, and share your link or embed your button wherever your readers are. Tipper also lets supporters send a personal note or video with their tip, which turns a one-time transaction into a genuine connection. For bloggers who want a tip button that works without technical headaches, Tipper is the fastest path from zero to live. You can also explore how other creators are using tip jar tools to build sustainable income from their content.
FAQ
What is a tip button on a blog?
A tip button is a payment widget that lets readers send a small, voluntary payment to a blogger with one click. It functions as a digital tip jar, typically offering preset amounts like $3, $5, or $10.
How do I add a tip button to my blog without coding?
Use a service like Tipper, which provides a shareable link or embed code that works on any platform. No coding is required, and setup takes under an hour.
Where should I place the tip button for the best results?
End-of-post placement consistently outperforms sidebars and headers. Readers who finish an article are most engaged and most likely to tip.
What preset tip amounts should I use?
Set $3, $5, and $10 as your standard presets. These whole-number amounts mirror casual everyday expenses and reduce the friction that causes readers to abandon the tip flow.
Do readers need an account to tip through Tipper?
No. Tipper lets anyone send a tip using Apple Pay, Google Pay, or a card without creating an account, which removes the single biggest barrier to first-time tips.




Leave A Comment