

Adding a tip option to a service invoice is defined as including a voluntary gratuity field within your billing document, giving clients a clear, frictionless way to pay more than the base rate. Freelancers and small business owners who use this approach consistently report higher per-project income without raising their listed prices. Industry-standard preset tip percentages cluster at 15%, 20%, and 25%, with fixed-dollar amounts preferred for transactions under $10. The key rule: the tip line must always appear as a separate, clearly labeled item, distinct from your core service charges. That separation prevents billing disputes and builds client trust from the first invoice.
How to add a tip option to your service invoice
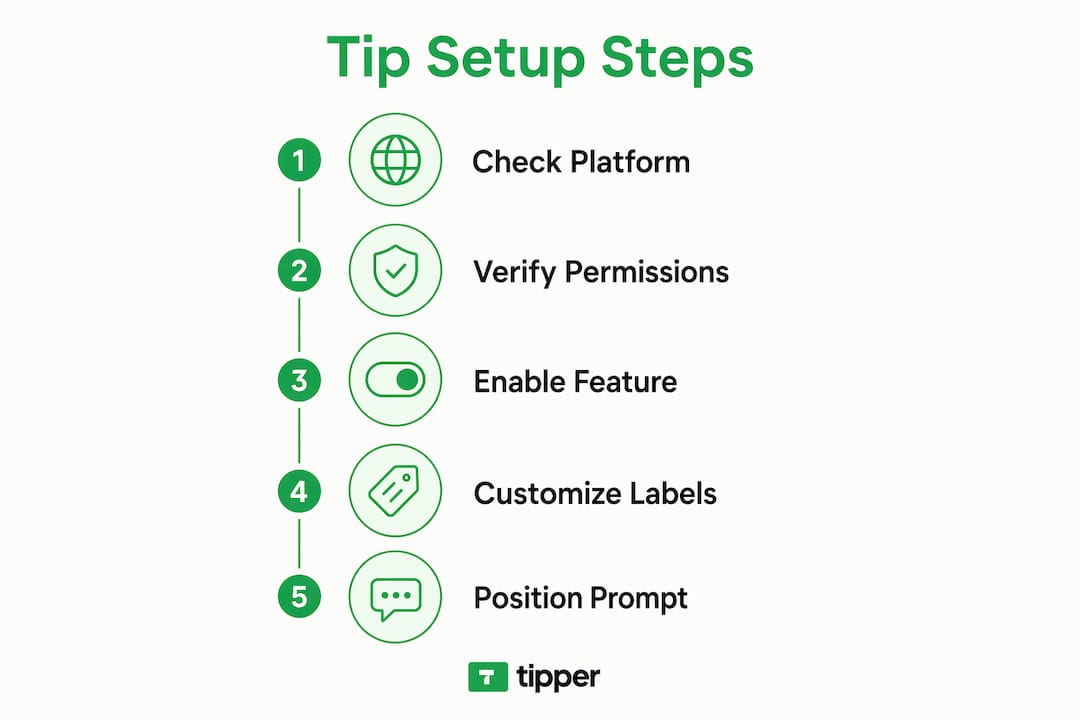
The first step is confirming that your invoicing platform supports a native tipping feature. Most digital invoicing platforms allow you to enable tipping directly from your account dashboard, with preset tip percentages and a custom-amount field already built in. If your platform does not offer this natively, you can add a manual line item labeled “Gratuity” as a workaround.

Before you touch any settings, check two things: your account permission level and your payment processor’s tipping support. Some platforms restrict tip configuration to admin-level accounts. Others require you to enable tipping at the payment processor level before the option appears on client-facing invoices.
Tax treatment is the detail most freelancers overlook. Tips are generally not subject to sales tax, but they are taxable income. Platforms like WooCommerce let you configure tip tax status independently from the service charge, which keeps your books clean. Confirm your platform does the same before going live.
Feature categories to evaluate before setup
| Feature | What to look for |
|---|---|
| Preset tip percentages | 15%, 20%, 25% options with ability to edit |
| Custom tip amount | Free-entry field for clients who want to tip differently |
| Label customization | Ability to change “Tip” to “Gratuity” or a branded phrase |
| Tax status control | Separate tax toggle for the tip line item |
| Mobile compatibility | Tip prompt visible on phone and tablet payment screens |
Pro Tip: If your platform locks the label to “Tip” and you prefer “Gratuity,” add a manual non-inventory line item with your preferred label. This workaround costs you two minutes and gives you full control over how the charge reads on the invoice.
Step-by-step: enabling and customizing tipping on invoices
Follow these steps to get tipping live on your next invoice.
- Log into your dashboard. Go to Settings, then Payments or Invoicing, and look for a “Tipping” or “Gratuity” toggle.
- Enable the feature. Flip the toggle on. Most platforms apply this change across all outgoing invoices within 1–5 minutes.
- Set your preset percentages. Enter 15%, 20%, and 25% as your defaults. Add a “Custom amount” option so clients are never boxed in.
- Customize the label. Change “Tip” to “Gratuity” if your brand calls for it, or use a phrase like “Show your appreciation.” If the platform does not allow label edits, use the manual line item method described above.
- Check tax settings. Confirm the tip field is marked as non-taxable for sales tax purposes.
- Preview the client view. Send a test invoice to yourself and verify the tip prompt appears clearly, below the subtotal, and before the total.
- Go live. Send your next real invoice and monitor whether clients engage with the tip field.
For platforms with no native tipping support, the manual method works reliably. Create a line item called “Gratuity (optional)” with a $0.00 default value. Add a short note in the invoice memo: “Feel free to adjust the gratuity line to any amount you’d like.” This keeps the request professional and low-pressure.
Pro Tip: Always place the tip prompt between the subtotal and the grand total. Clients who see the subtotal first have a clear reference point, which makes them more likely to add a tip rather than skip it.
Automated vs. manual tip addition
| Method | Best for | Key limitation |
|---|---|---|
| Native dashboard toggle | Platforms with built-in tipping | Limited label and percentage customization |
| Manual line item | Any platform, full label control | Requires editing each invoice individually |
| E-commerce checkout field | Online service sellers using WooCommerce | Requires plugin or checkout configuration |
What mistakes should you avoid when adding tipping options?
The most common mistake is burying the tip prompt after the client has already committed to paying. Tip prompts work best when they appear at the moment of payment, not in a follow-up email sent hours later. Clients who have already closed their browser are unlikely to reopen an invoice just to add a tip.
A second mistake is making the tip feel mandatory. Labeling a line item “Service Charge” when it is actually optional creates confusion and sometimes disputes. Transparent invoice presentation that clearly distinguishes optional tips from required fees is the standard that reduces client friction and protects your reputation.
Here are the most common pitfalls and how to fix them:
- Unclear labeling. Use “Gratuity (optional)” or “Tip (your choice)” to signal that the field is voluntary.
- Wrong timing. Integrate the tip prompt into the payment screen, not a post-payment thank-you email.
- Locked percentages. If your platform only offers 10%, 15%, and 20%, add a custom-amount field or use a manual line item for clients who want to tip more.
- No offline fallback. For in-person work, provide a printed receipt with a tip entry line when no touchscreen device is available.
- Forgetting mobile. Test your invoice on a phone before sending. A tip field that is hard to tap on mobile gets skipped.
“Collecting tips at the moment of service leverages customer goodwill optimally. Relying on secondary follow-up actions consistently produces lower tip rates, because the emotional peak of the client experience has already passed.”
The fix for most of these problems is the same: treat the tip prompt as part of the payment flow, not an afterthought. Clients who feel respected and unpressured tip more often and more generously.
Best practices to maximize tip revenue and client satisfaction
A frictionless tipping experience starts with placement. The tip field should appear at the point of checkout, directly before the client clicks “Pay Now.” That single placement decision has a larger impact on tip rates than the specific percentages you offer.
Customize your tip language to match your brand tone. A graphic designer might use “Love the work? Add a thank-you.” A home service provider might keep it simple: “Tip your technician.” The phrasing signals professionalism and makes the request feel natural rather than awkward. You can read more about tipping etiquette by industry to find the right tone for your field.
These practices consistently produce better results:
- Use mobile payment methods. Apple Pay and Google Pay reduce checkout friction, and clients who pay faster tend to tip more readily.
- Send digital receipts with a thank-you note. A brief, personal message after payment reinforces goodwill and encourages repeat tipping.
- Offer three preset options plus a custom field. Three choices prevent decision fatigue. The custom field catches clients who want to tip above your highest preset.
- Avoid tip fatigue. Do not add tip prompts to every touchpoint. One clear prompt at payment is enough.
- Build a tipping culture over time. Clients who tip once are more likely to tip again. Consistent, quality service is the foundation. Learn how to promote tipping culture across your client relationships.
Pro Tip: For recurring clients, consider adding a short line to your invoice memo: “Tips are always appreciated but never expected.” This phrasing reduces pressure while keeping the door open, and clients who genuinely value your work will act on it.
Key Takeaways
Adding a tip option to your service invoice increases revenue when the prompt is placed at the point of payment, labeled clearly, and kept fully optional.
| Point | Details |
|---|---|
| Standard preset percentages | Use 15%, 20%, and 25% as defaults, plus a custom-amount field for flexibility. |
| Timing is the biggest factor | Tip prompts at the payment screen outperform post-payment follow-up emails every time. |
| Clear labeling prevents disputes | Mark tips as optional and separate them from core service charges on every invoice. |
| Manual line items fill platform gaps | If your platform lacks native tipping, add a “Gratuity (optional)” line item manually. |
| Mobile compatibility matters | Test your invoice on a phone before sending to confirm the tip field is easy to use. |
Why timing changed everything for me
The first time I added a tip field to my invoices, I put it in a follow-up email sent after the client confirmed receipt of the work. The tip rate was low. Not because clients were unwilling, but because the moment had passed. By the time they saw the email, they had moved on mentally.
Moving the tip prompt to the payment screen changed the result immediately. Clients who were still in the mindset of completing a transaction responded far more often than those I asked hours later. The lesson was simple: goodwill is time-sensitive.
I also learned that default settings are rarely the right settings. Most platforms default to percentages that feel low for service work, and the label “Tip” can feel transactional in professional contexts. Switching to “Gratuity” or a custom phrase took me ten minutes and made the request feel more aligned with the quality of work I deliver.
The one thing I would tell any freelancer starting out: do not overthink the percentages. Clients who want to tip will tip. Your job is to make it easy, clear, and well-timed. Everything else is secondary.
— Tipper
Tipper makes invoice tipping simple for freelancers
Freelancers and small business owners who want to add tipping to their payment flow without rebuilding their entire invoicing setup have a direct path forward with Tipper.
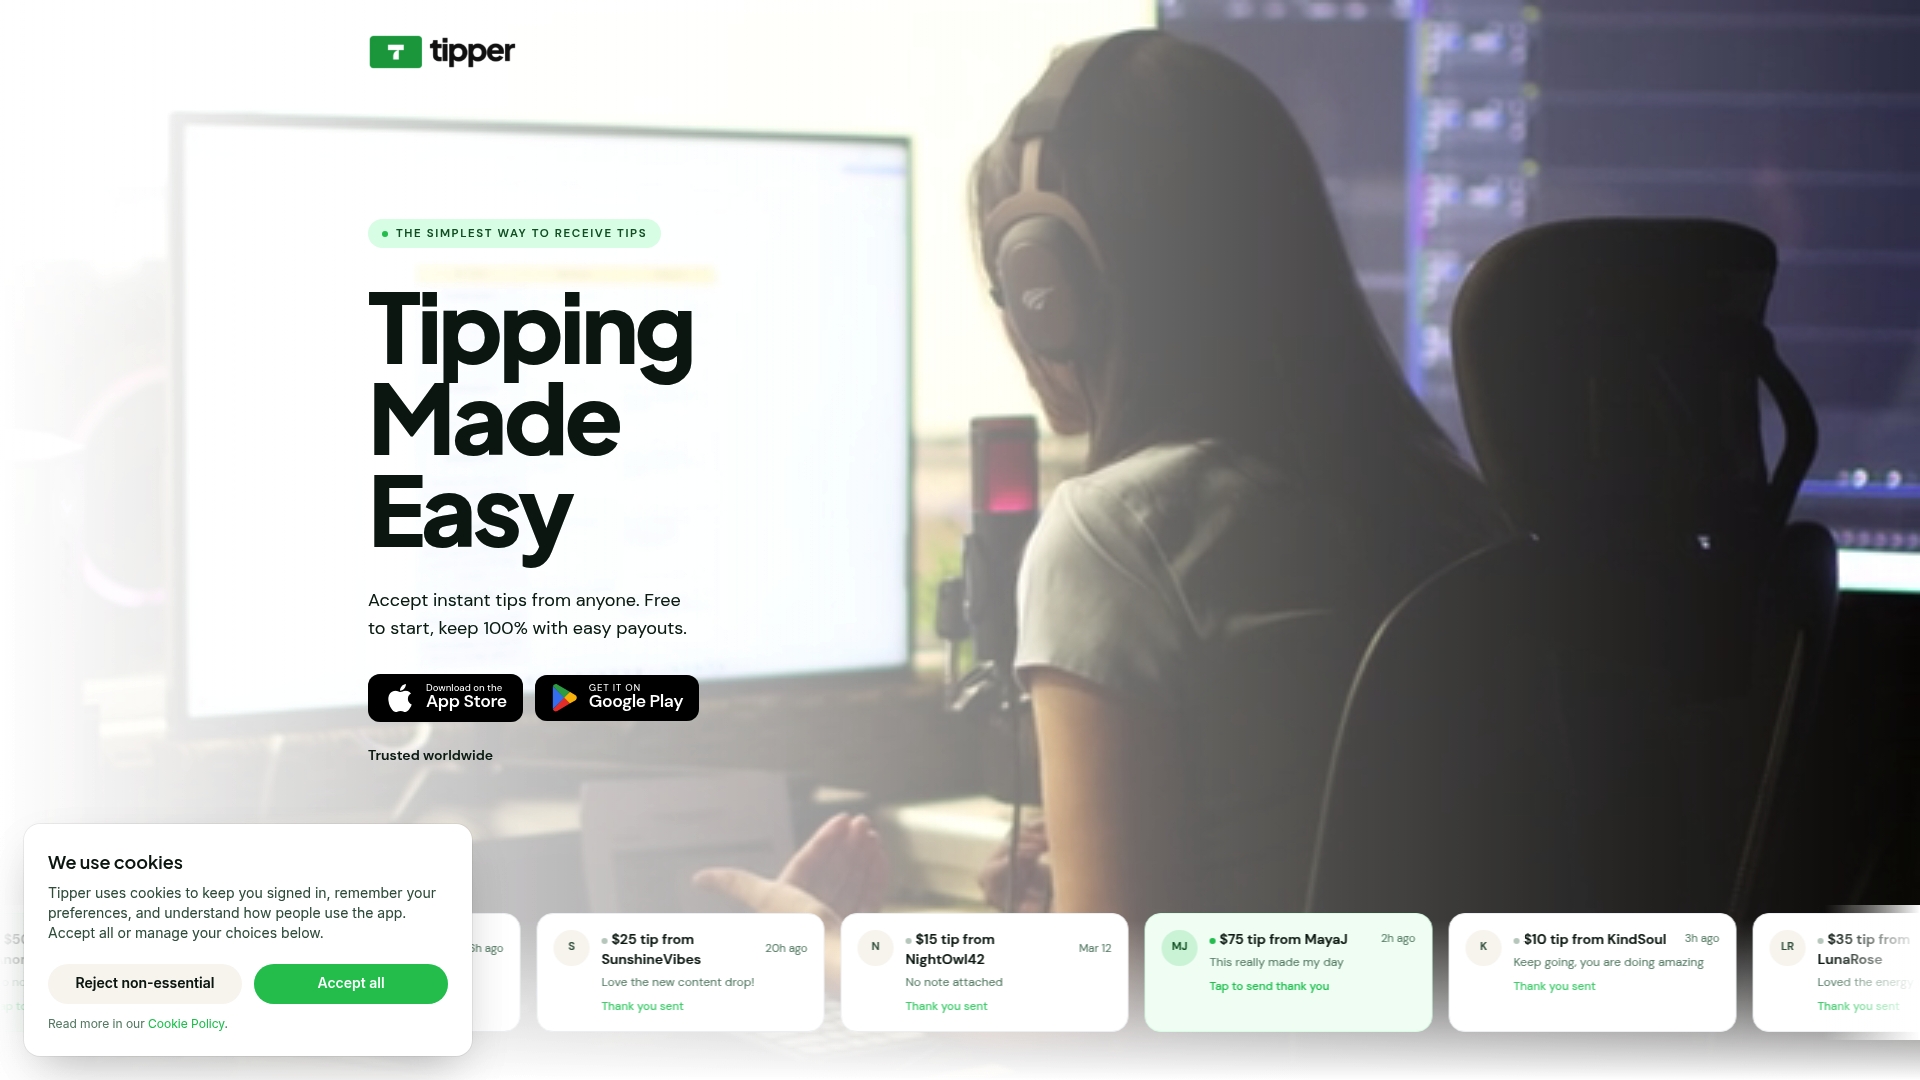
Tipper lets you collect tips through a personalized link, with no account required from the client. Payments go through Apple Pay or Google Pay in seconds, and you keep 100% of every tip you receive. There are no platform fees eating into your gratuity income. Whether you send invoices by email or handle payments in person, Tipper fits into your existing workflow without friction. Clients can also leave a thank-you note or video, which adds a personal layer to every transaction. Get started at tipper.app and start collecting tips on your next invoice today.
FAQ
What is a tip option on a service invoice?
A tip option on a service invoice is a voluntary gratuity field that lets clients add an extra payment above the base service charge. It appears as a separate line item, clearly labeled, before the invoice total.
What tip percentages should I offer on my invoice?
The standard preset percentages are 15%, 20%, and 25%. Always include a custom-amount field so clients can tip any amount they choose.
Can I change the label from “Tip” to “Gratuity” on my invoice?
Many platforms restrict label changes for the tip field. The standard workaround is adding a manual non-inventory line item with your preferred label.
When is the best time to prompt clients for a tip?
The tip prompt should appear at the moment of payment, before the client clicks “Pay Now.” Prompts at checkout produce significantly higher tip rates than follow-up emails sent after payment is complete.
Do tips on invoices count as taxable income?
Tips are generally not subject to sales tax but are taxable income for the service provider. Confirm your platform separates the tip’s tax status from the core service charge to keep your records accurate.




Leave A Comment